Proposal re-post

MY PROPOSAL

1 Sentence:
I will produce a multimedia Web Documentary that will explore the lives of 5 subjects and their relationship with material entities in their domestic spheres.

1 Paragraph:
I intend on making a Web documentary that chronicles the domestic lives of 5 subjects and exploring the role material things help to build identity. There are two sections to this project the ethnographic study and the production side. For the study I will be observing their domestic space and interviewing them, these will be my research methodologies. For the production side will consist of capturing stills, videos and audio samples of the interview and of their domestic space, for use in an interactive documentary.

Proposal:
For my final project, I intend on making a Web Documentary, that explores the domestic spaces of five people, the aim of the project is to investigate the relationship people have with personal belongs and the affect that these material things have on their everyday life. In order to do this I must first carry out an ethnographic study of the subjects, which will mainly consist of asking them a few questions about items in their home and what value/importance they hold (below I have outlined a few topics that I will want to explore when interviewing the subjects). I haven’t just as yet decided how I want the site to look exactly, however I have a basic idea about the type of still and audio sounds I want to capture, I will outline this later in the proposal.

Inspiration for this project stems primarily from an ethnographic study carried out by Daniel Miller, in his book The Comfort of Things (2008), he enters the homes of thirty people who live on one single south London street, showing us their intimate live, his study placed emphasis on the material possessions of these people and what role these objects played in making them who they were.
Here is a short passage from the first portrait “Portrait 1: Empty”:
Even a space this empty would not have felt quite so disturbing if it had become filled with the presence of man. His stories, his attachments and relationships could have re-populated the space, turned to room backing into a living-room. But, from the time he started speaking, it was evident that there was no counterbalance between person and place rather that the flat was the man.

According the Lee (1993) people habitually invest a certain amount of their self into material objects as a way of managing their sense of place, social position and identity. This is the main theme I want to explore, identity, how the objects in their house, photographs, rugs, house plants etc. Make them who they are, why these things? And why do they matter? How do the decorations, belongings and expressions of personal taste displayed in the homes of my five subjects, express and construct their identities?
Dreamweaver testing- Fixed Header/footer for website navigation

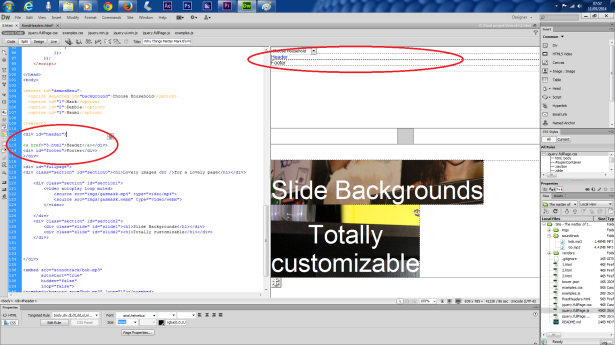
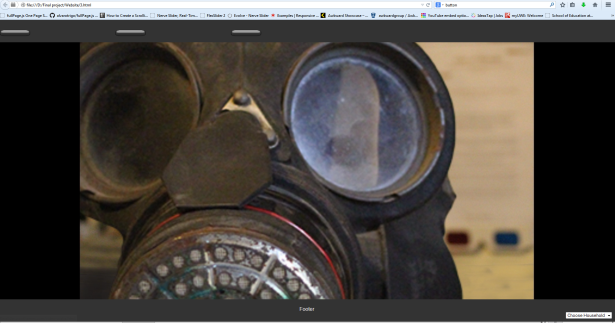
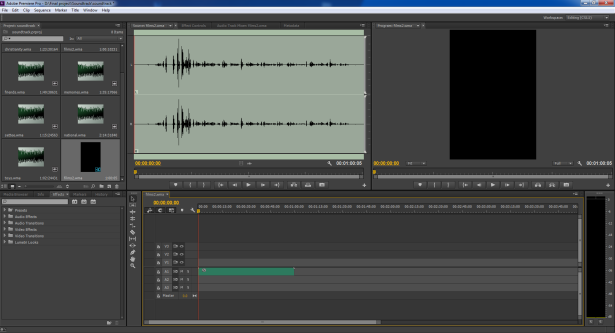
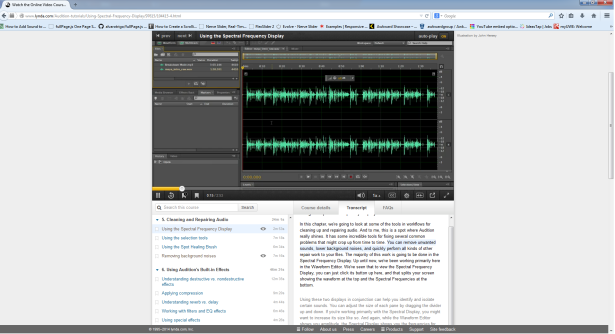
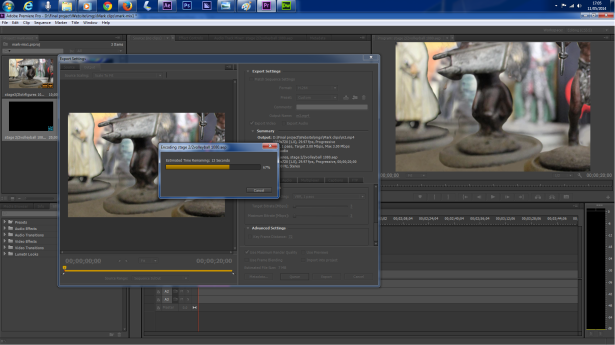
These are screenshot of testing out the header and footer, so users can navigate around the site from within each persons portrait.

TESTING Header
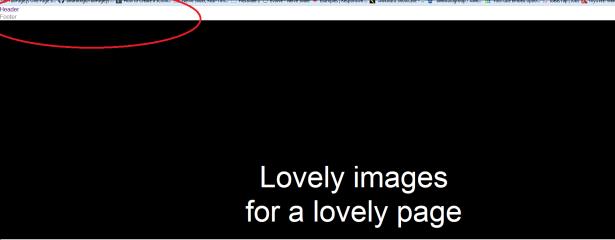
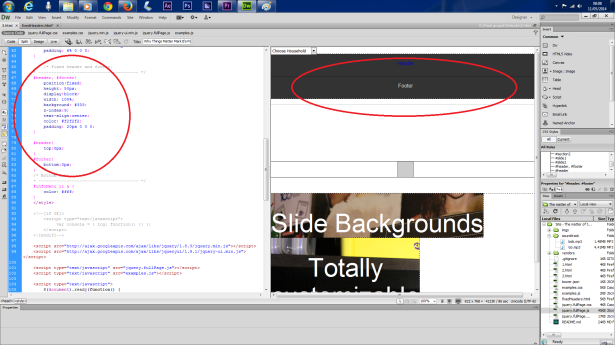
To begin I have taken the code from one of the Fullpage master Jquery example pages – Fixed Header-CODE CIRCLED in image below- Within the EXAMPLE PAGE SOURCE CODE I linked it to PAGE 3 (my practice page) and then tested it in Firefox to test whether links would work within the header. the link within the header did work in the browser, i then tried the same by inserting and linking the image (to another page) into the header div, this also worked.


testing navigation

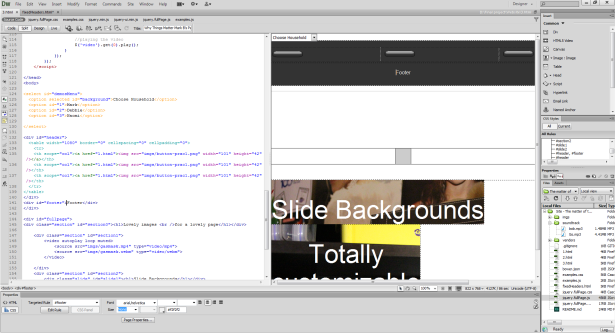
^^ I now entered the code into my practice page (3) but the css style did not apply to the page. I had to go back into the example page source code and copy the CSS style back into PAGE 3 so the style would apply. image’s below show steps taken.

testing navigation-2

^^ without the CSS code for the header in the sourcecode, it displayed as two blank boxes above the fullpage video background. image below also shows this.

testing navigation-3

 
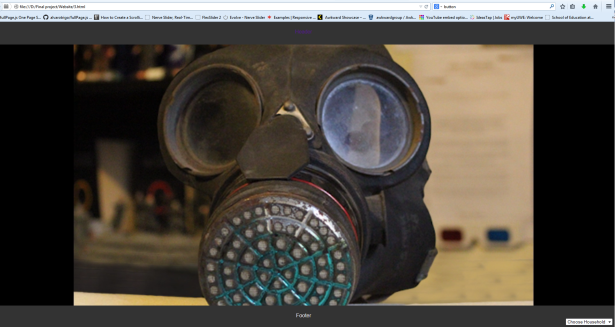
Once the codes above was inputted the black fixed header and footer bar worked on my practice page, ‘3’
testing navigation-4


^^header link in Dark purple


Now that i had the fixed headers working, i tested putting a table in, with image links. IMAGES BELOW. This worked successfully, but table width, padding etc will need tweaking for final site.
testing navigation-5

testing navigation-6

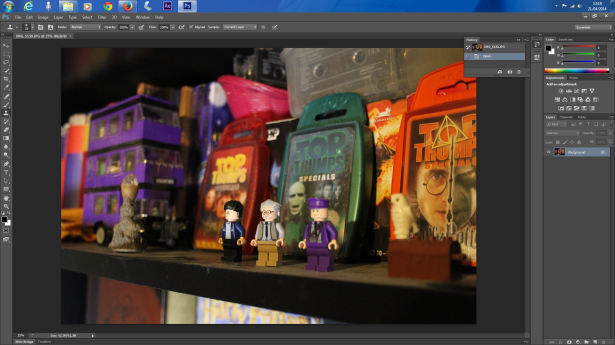
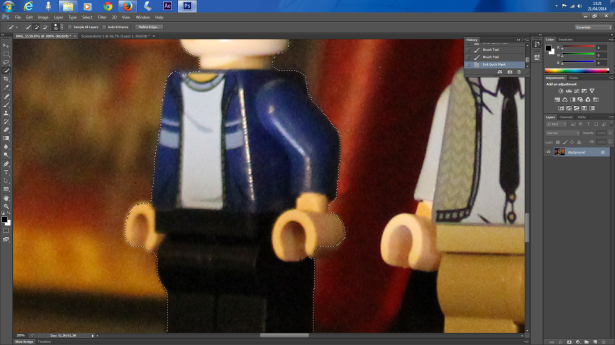
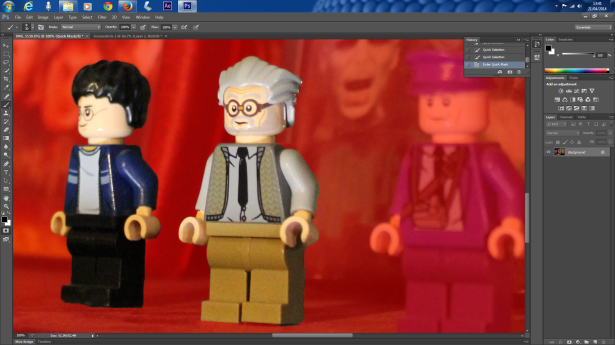
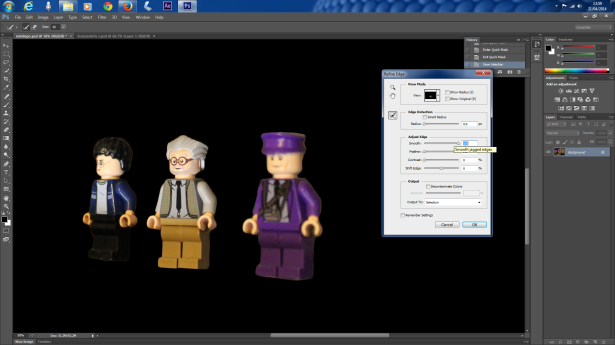
Screenshots of photoshop editing stages

Stage 1
Firstly I identify the different planes of the image, i.e foregrounds, background and mid-ground.

Screenshots-pt.-1_0007_Layer-1


Stage 2
Then using the QUICK SELECTION tool or magnetic/polygon lasso, i select the objects in the different planes, I’ve found quick selection tool to be the most useful, as long as their is definitive contrast difference between the the different objects, then Photoshop will easily select the edges this will help detect the edges.
Screenshots-pt.-1_0006_Layer-2


Stage 2.1
The quick selection tool hasn’t always worked for images with poor contrast, so i have quite often had to skip the first part of stage 2 and skip straight to 2.1, using quick mask mode.

Using quick mask mode to touch up and refine the edges, this stage i have made plenty of use with the brush and blur tools.

Screenshots-pt.-1_0005_Layer-3


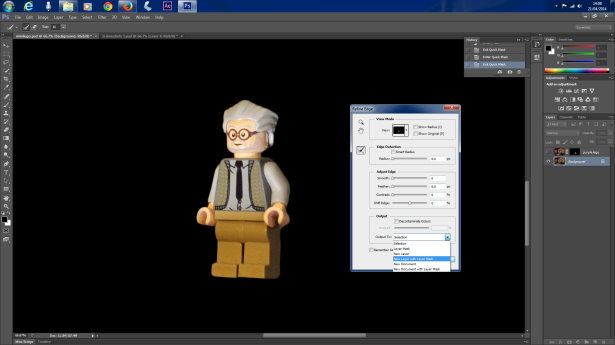
Stage 2.2
Following this i use the refine edge command, which can smooth out the edges, detect edges, shift the edge, feather or add contrast defining the edge a bit more, some edges will need different alterations at this stage, so I dial the settings accordingly.


Screenshots-pt.-1_0004_Layer-4


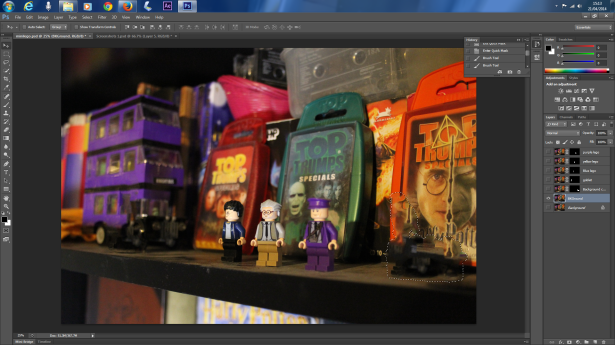
Stage 3

At this stage, i duplicate the background to create a new background layer, and name the original background layer, ‘Original’

Screenshots-pt.-1_0003_Layer-5


Stage 4
Now i select the foreground selection whilst on the new background layer, by pressing Ctrl+ clicking on the foreground layer mask, the DELETE the selection from the new background layer.
once this is done, i got to SELECT> modify > expand the layer by 10 Pixels. this is to ensure the edge won’t be visible after i use content aware to fill the now empty space.
Screenshots-pt.-1_0002_Layer-6


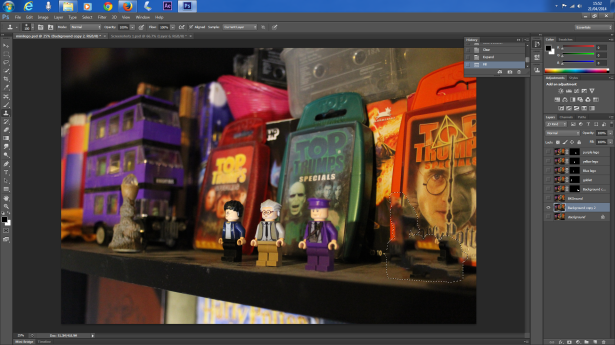
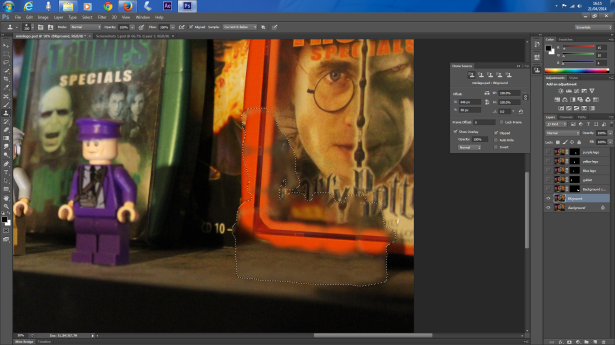
Stage 4.1

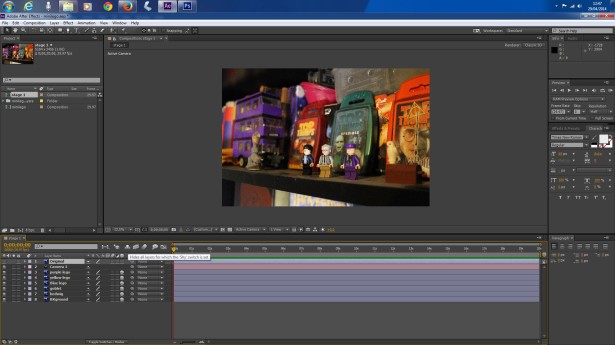
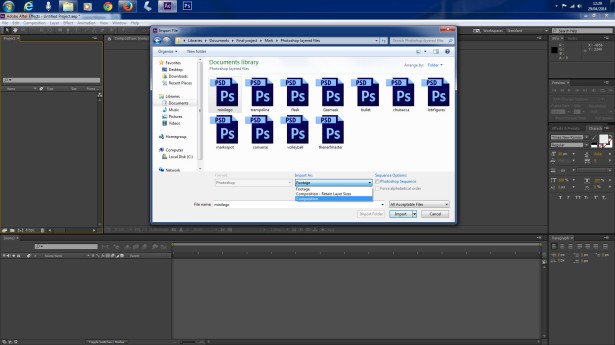
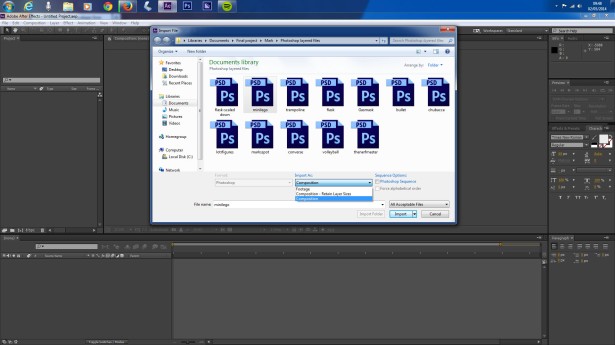
Using the clone stamp and blur tool, i try to make the recently content-aware filled space match the rest of the background. Having completed this, i would now, rename all the layers and save the overall file as a PSD ready to import into after effects.

Screenshots-pt.-1_0001_Layer-7

Screenshots-pt.-1_0000_Layer-8